Fractals: A Very (very) Brief Introduction
For those who don’t know, Fractals are a branch of mathematics that deal with complex systems. With the development of computer graphics in the 1980s, mathematicians could visually interpret these mathematical curiositities. Visually, fractals generally have the appearance of self-similarity. That is smaller parts generally resemble the larger whole.
Wikipedia has this to say on fractals:
Fractals are typically self-similar patterns, where self-similar means they are “the same from near as from far”. Fractals may be exactly the same at every scale … they may be nearly the same at different scales
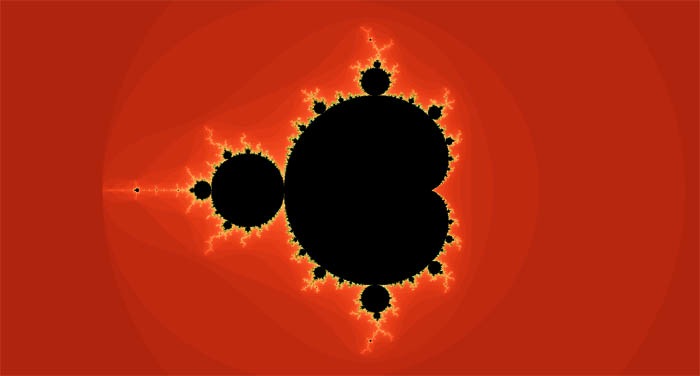
The most famous of these is the Mandelbrot.
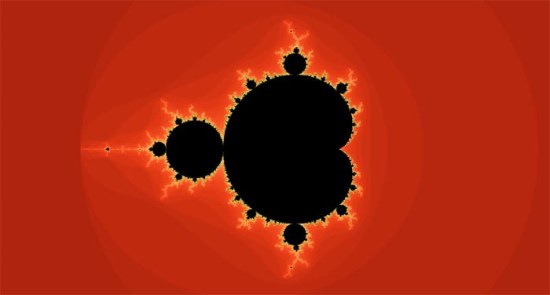
I would imagine most people reading this blog would have seen this type of fractal.
I first discovered fractals probably in the early Nineties. There was a program called Fractint that let you generate all kinds of different fractal patterns and colour them in different ways. That was my introduction to them. Fractint is long since defunct, but there are plenty of options these days. Many of them have much more sophisticated ways to colour and visualize fractals. Though I find none have quite the range of fractal possibilities as the original Fractint.
Anyways, I’ve mostly left fractals behind. Sure, the cloud generator in Photoshop is a fractal generator, but that’s just about it. Even with fast computers today, fractal exploration does require a lot of time and patience.
Stumbling In To Fractals Again
Recently, I’ve joined StumbleUpon, an online service for a website discovery service. It recommends pages based on your likes and (hopefully) gets better as the program gets to know your tastes better. There are also quite a few curated lists you can subscribe to as well.
Anyways, the first thing that came up was a program called Silk. It comes in both a desktop and iOS flavour. While technically not quite a fractal explorer program, it does use mathematical algorithms to play around with a user specified lines to create computer generated art. The site offers no explanation, but I assume it is probably something like Perlin Noise that is perturbing the lines you draw. Which definitely puts this in the fractal-esque category. The desktop webapp worked fine in Firefox, but the save feature didn’t seem to work for me in Safari. I imagaine your mileage will vary on the various versions of Internet Explorer there are out there.
A quick check on the App Store showed another app, called Perlin Draw, basically does the same thing as Silk, but as of this writing, the App is free to download and use.
It basically does much the same as Silk, but has a few more drawing styles to choose from. Perlin Draw is also better for free form drawing, Silk is more for funky, kaleidoscope style drawings.
Both apps are quite serviceable and produce images that are of good quality and quite high resolution. Though the Silk program had consistently better quality images than the Perlin Draw program.
A Few Examples
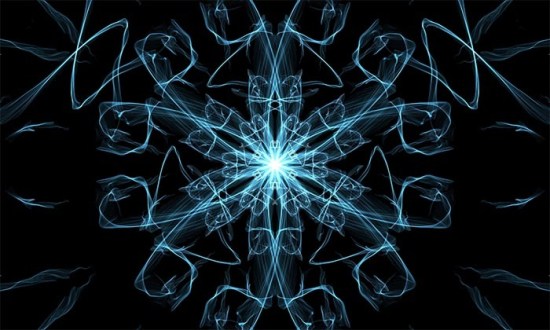
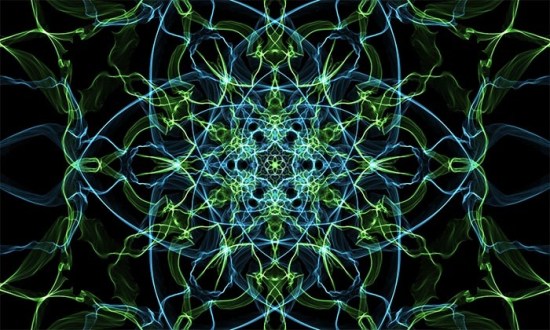
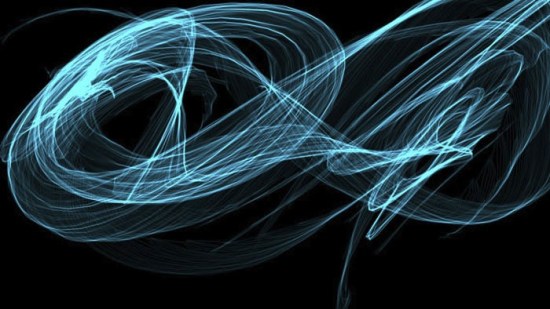
These were from the Silk program:
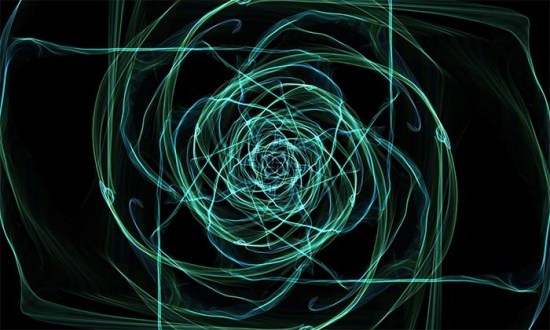
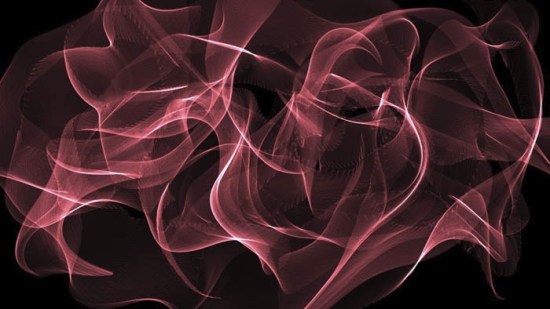
And these ones are from the Perlin Draw program:


These two programs have rekindled my interest in this type of artwork. As time marches on, I’ll probably post more of these explorations of algorithmically generated artwork.
Enjoy.
Further Reading
The Wikipedia article on fractals (warning, gets quite technical): http://en.wikipedia.org/wiki/Fractal
Very cool images can be found here: http://www.enchgallery.com/fractals/fracthumbs.htm
For those interested, there’s still a page for Fractint, and that can be found here: http://www.fractint.org/
All the other fractals for this post were drawn using this program (sorry Mac only): https://www.macupdate.com/app/mac/14386/mandelbrot-on-cocoa


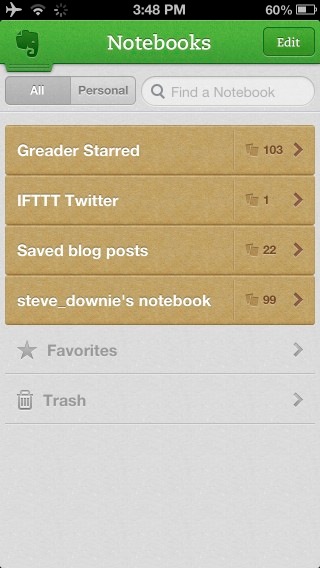 Before. A simple, but disorganized mess. Good luck finding anything in there.
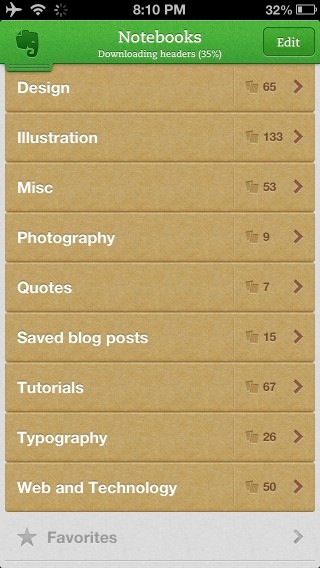 After. Looking much better. I now have a chance to find stuff. Browsing will be easier too.