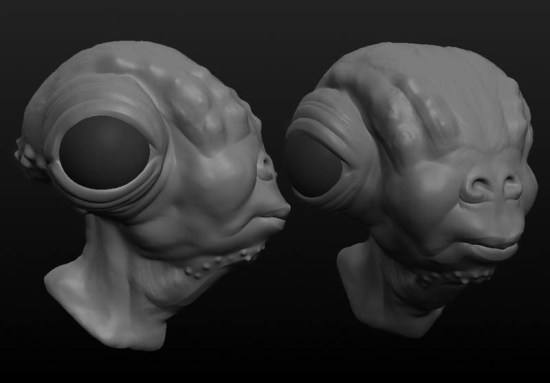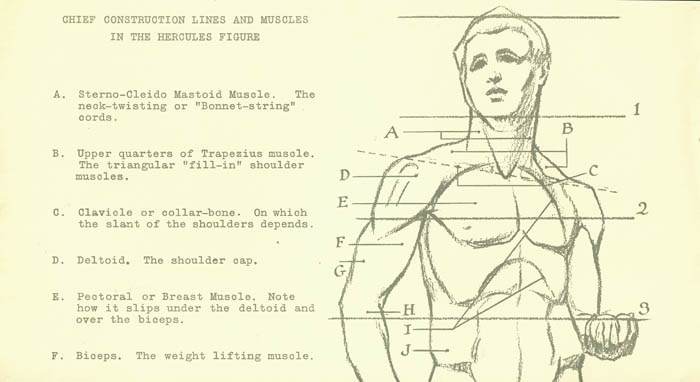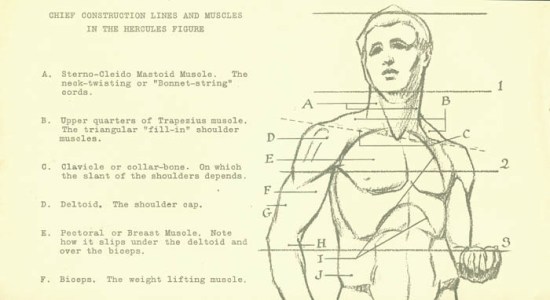
Image scanned from some really old reference material I inherited from my grandfather. Source unknown. Circa the 1930s or 40s.
This is my follow up to my Evernote as ultimate graphic design swipe file. Read about it here.
In my last post I’d mentioned that I would describe the way I managed to get my swipe file organized. I first setup a whole bunch of different notebooks I could move everything to. I tried to keep the different notebooks as different in subject matter as I could to avoid as much overlap as I could.
The main category I set up was “Design”. I was originally going to call it “Graphic Design”, but I felt that graphic design was a bit too limiting as my interest in design also leans towards product design as well.
I also have notebooks set up for Illustration, Tutorials, Web and Technology, Typography, Quotes, and Photography.
I hesitantly set up a “Misc” notebook as a catchall to hold anything that didn’t fit in any of the other categories. I’m not a big fan of this. Open folders like that tend to get abused and can make it hard to search for stuff afterwards. But I knew there were a few things like recipes and workout tips that I have starred in the now defunct Google Reader that wouldn’t really fit in a designer’s swipe file.
As a side note, once it was getting close to Google Reader’s termination date of July 1st, 2013, I checked out all my data and used the instructions found here to move all my starred items into Evernote. The instructions found here put everything into a local notebook. I then proceeded to move everything to the synced notebooks so I could access these any time I wanted to. This forced me to buy a Pro account in Evernote so I could move all those megabytes online. Hopefully good things will come of that!
Once all my digital files were all sorted, I set about getting as much of my analog swipe files stashed away into Evernote as well. Evernote has a camera feature built in, but it takes files at full resolution, and I don’t need anything quite so ambitious. So I used the app, FastEver Snap. All it does is take photos at a user specified resolution and upload them to Evernote in a specified notebook. Easy peasy.
Tag, you’re it!
I probably won’t do much in the way of tagging. The only main use I think I’ll have for tagging will be to keep track of notes for specific projects. Usually, all I would do is just browse through my swipe file and pull out whatever I think is relevant to the project at hand. Tagging items with a project name rather than making a notebook for each project would then make it easy to find the relevant data, and will keep down the number of notebooks to a minimum.
Recap
So here’s two screenshots from my iPhone, showing the before and after.
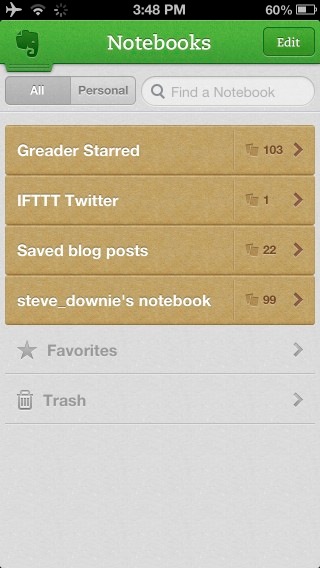 Before. A simple, but disorganized mess. Good luck finding anything in there.
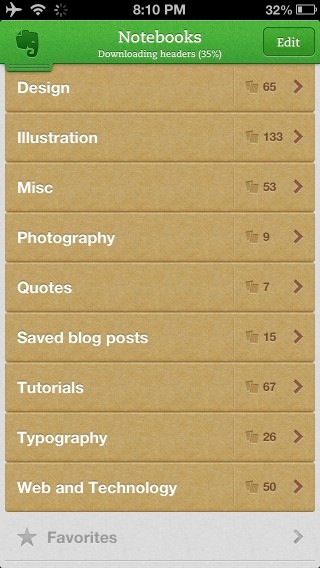 After. Looking much better. I now have a chance to find stuff. Browsing will be easier too. [Evernote for iOS]
For further reading check out these links:
Wikipedia’s article on swipe files.
More on Evernote can be found here.